ShareX
Custom Uploader Settings
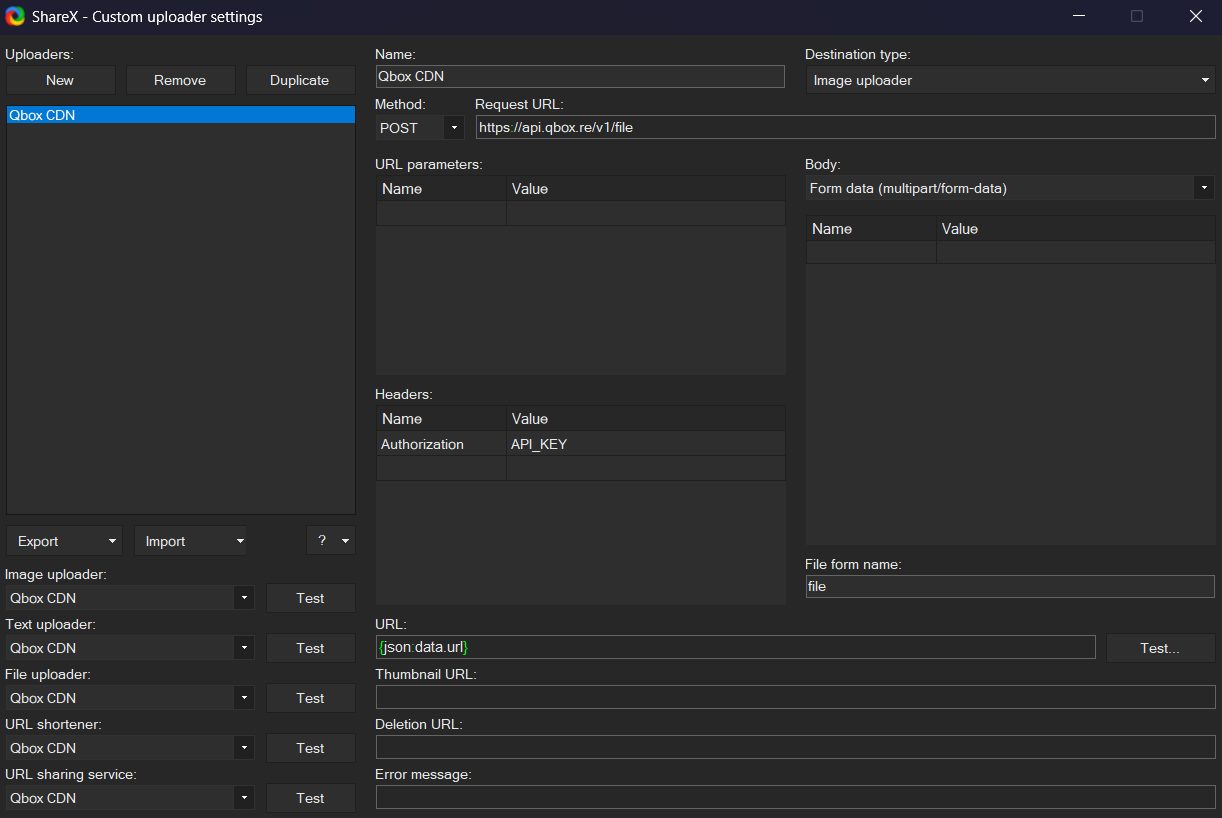
Open ShareX and select Custom uploader settings... from the sidebar. Create a new uploader with the following values:
- Destination type: Image uploader, File uploader
- Method: POST
- Request URL: https://api.qbox.re/v1/file
- Body: Form data (multipart/form-data)
- Header:
- Name:
Authorization - Value:
YOUR_API_KEY_FROM_DASHBOARD
- Name:
- File form name:
file - URL:
{json:data.url}
ShareX Setup
- Under
After capture tasks, select only:Upload image to hostDelete file locally
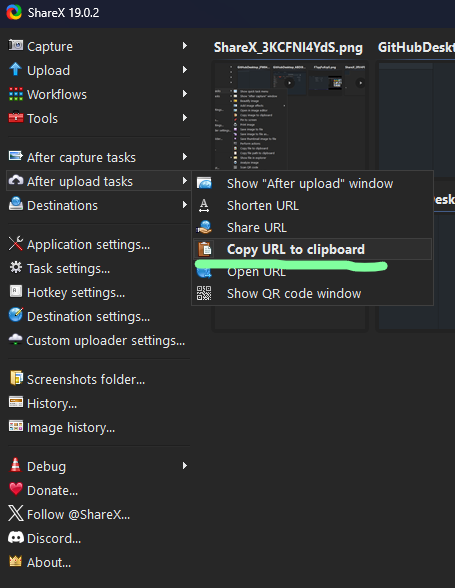
- Under
After upload tasks, select only:Copy URL to clipboard
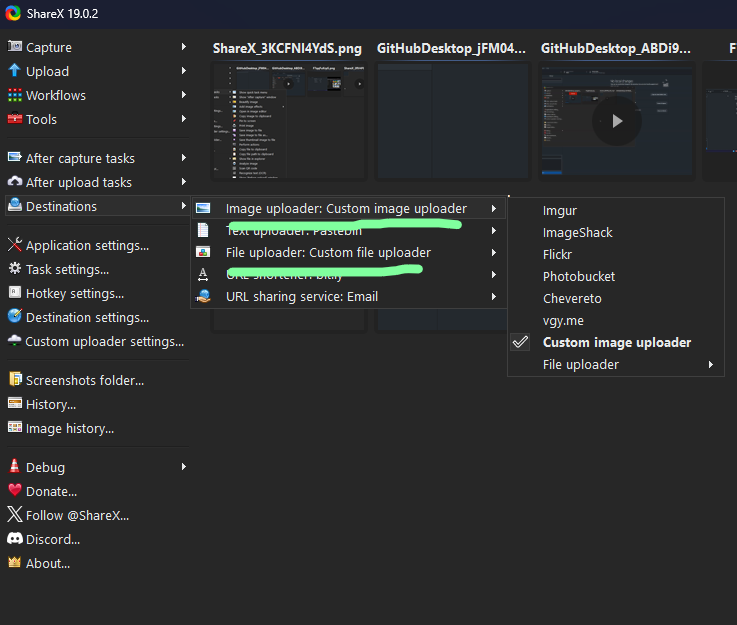
- Under
Destinations, set bothImageandFiletoCustom uploader
Now each time you make a screenshot or recording your own storage space won't be filled up and the corresponding URL will be copied into your clipboard for you to paste anywhere you like.